How to BIY (brew your own) coffee on the road and on the trail
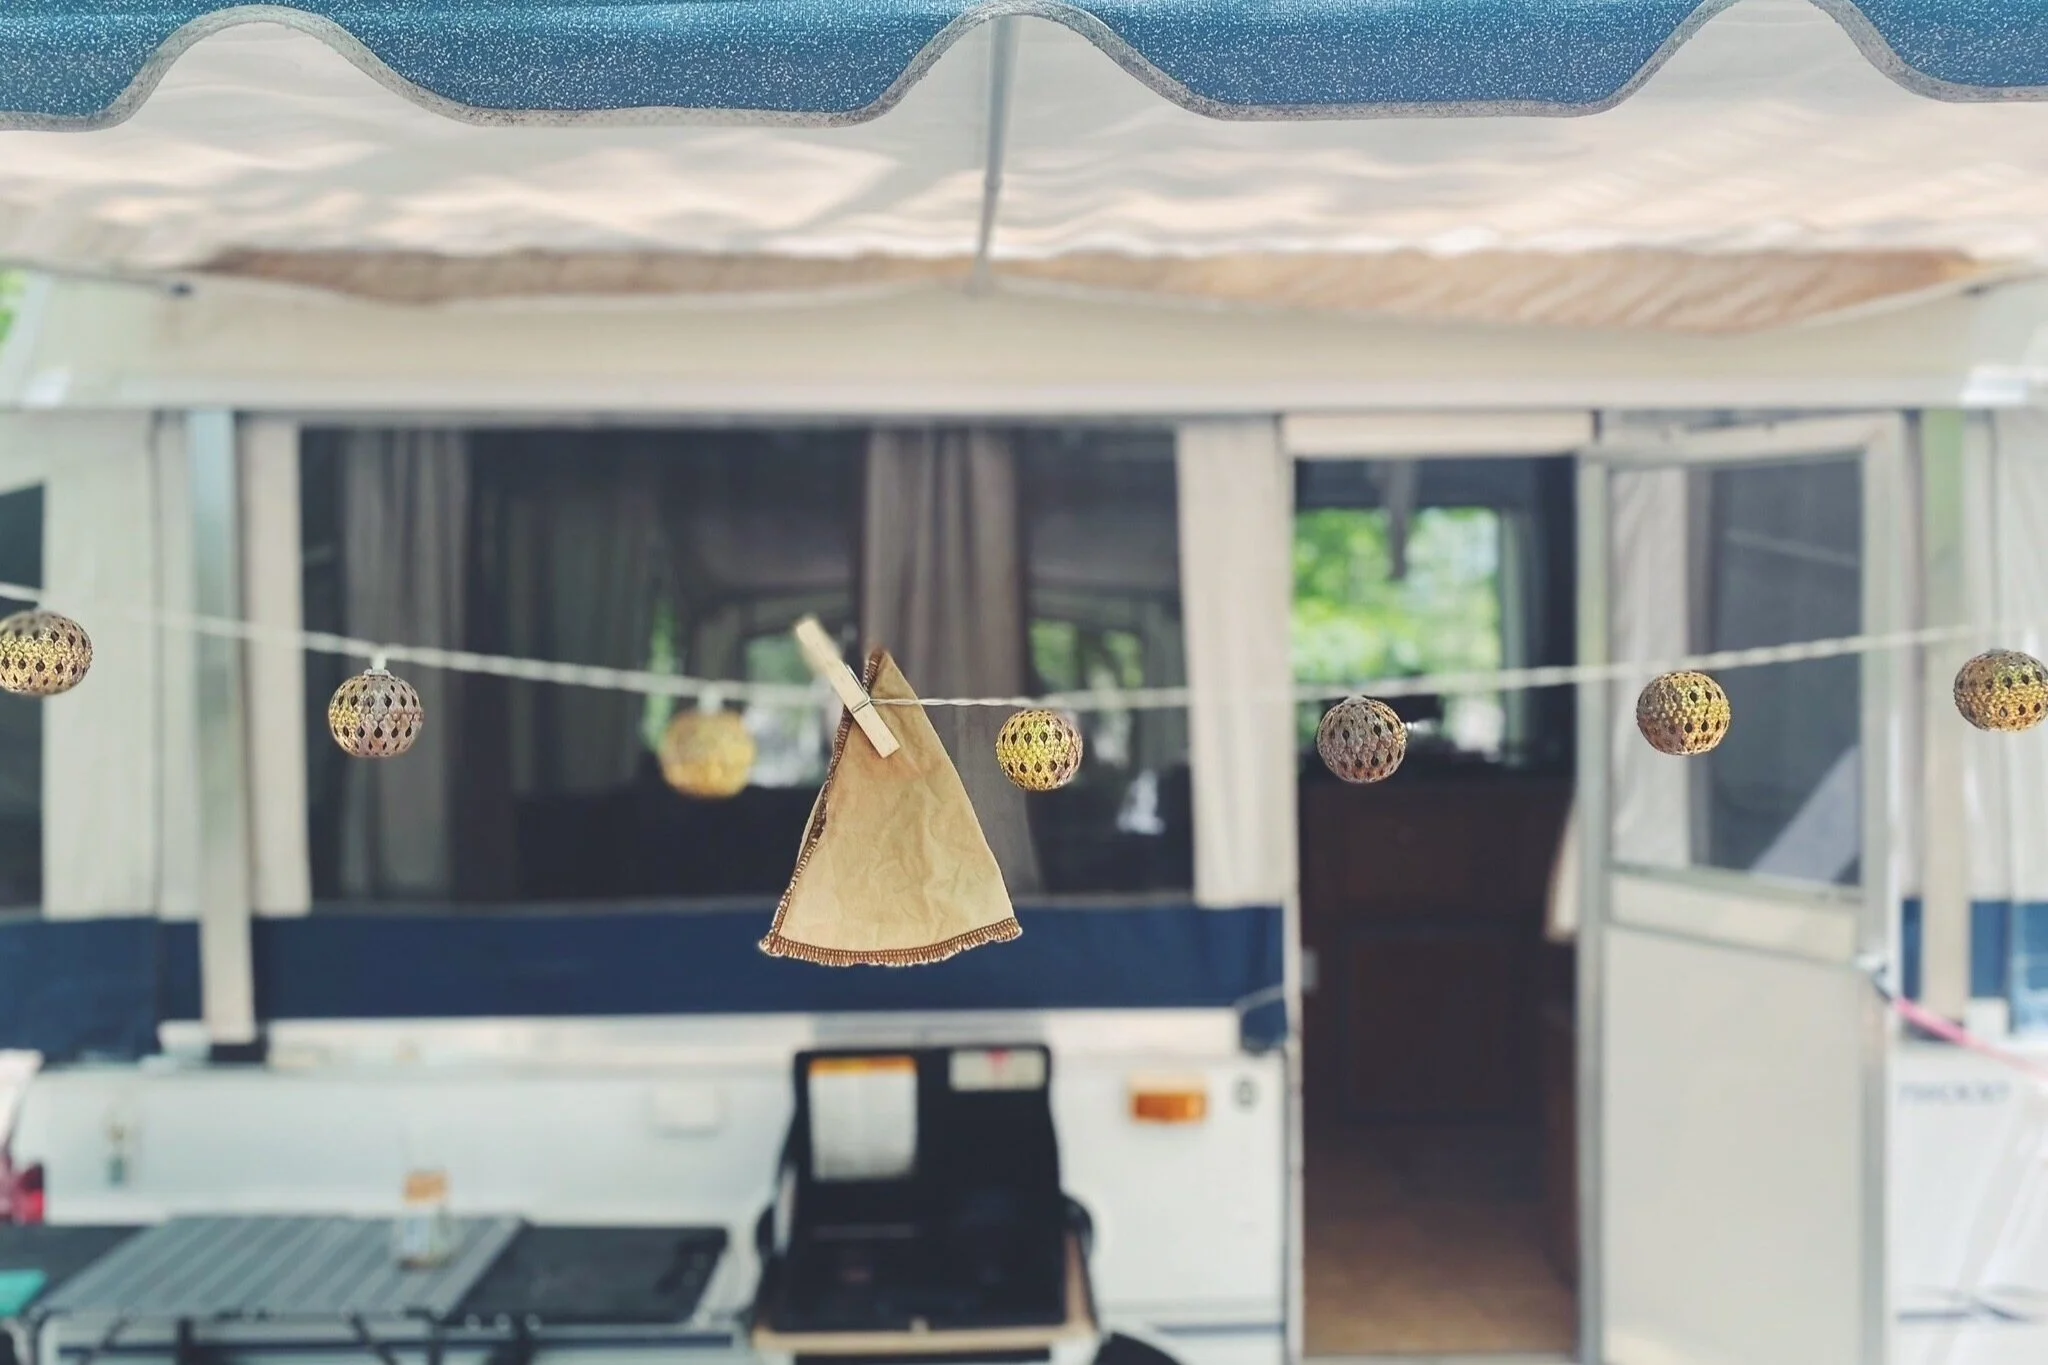
You don’t have to settle for gas station brew on your road trip or drink instant coffee in the woods. Here’s how to keep it quality on the go.
Imagine the scene
Dawn breaks in the canyons near Moab, or over the busy Colorado river. There’s you, a few feet from your camper or right outside your tent, blanket over shoulders, sipping your favorite coffee from a canteen and watching the sun come up on a new day.
And this one
It’s mile 1,000 of your epic summer road trip through the Blue Ridge Mountains and down the eastern coast. Perfect time to stop at the nearest scenic overlook for a snack and iced coffee break. Good thing you have both already prepped and in the cooler. Just find your spot and enjoy.
Three ways to brew your favorite coffee on the go
Space is a premium when you’re on the go—so these methods don’t require you to pack a bunch of extra equipment. Choose a setup that works for you and avoid expensive coffee stops or barely tolerable road brew.
We’ve got you covered.
If you have fresh water and a way to heat it
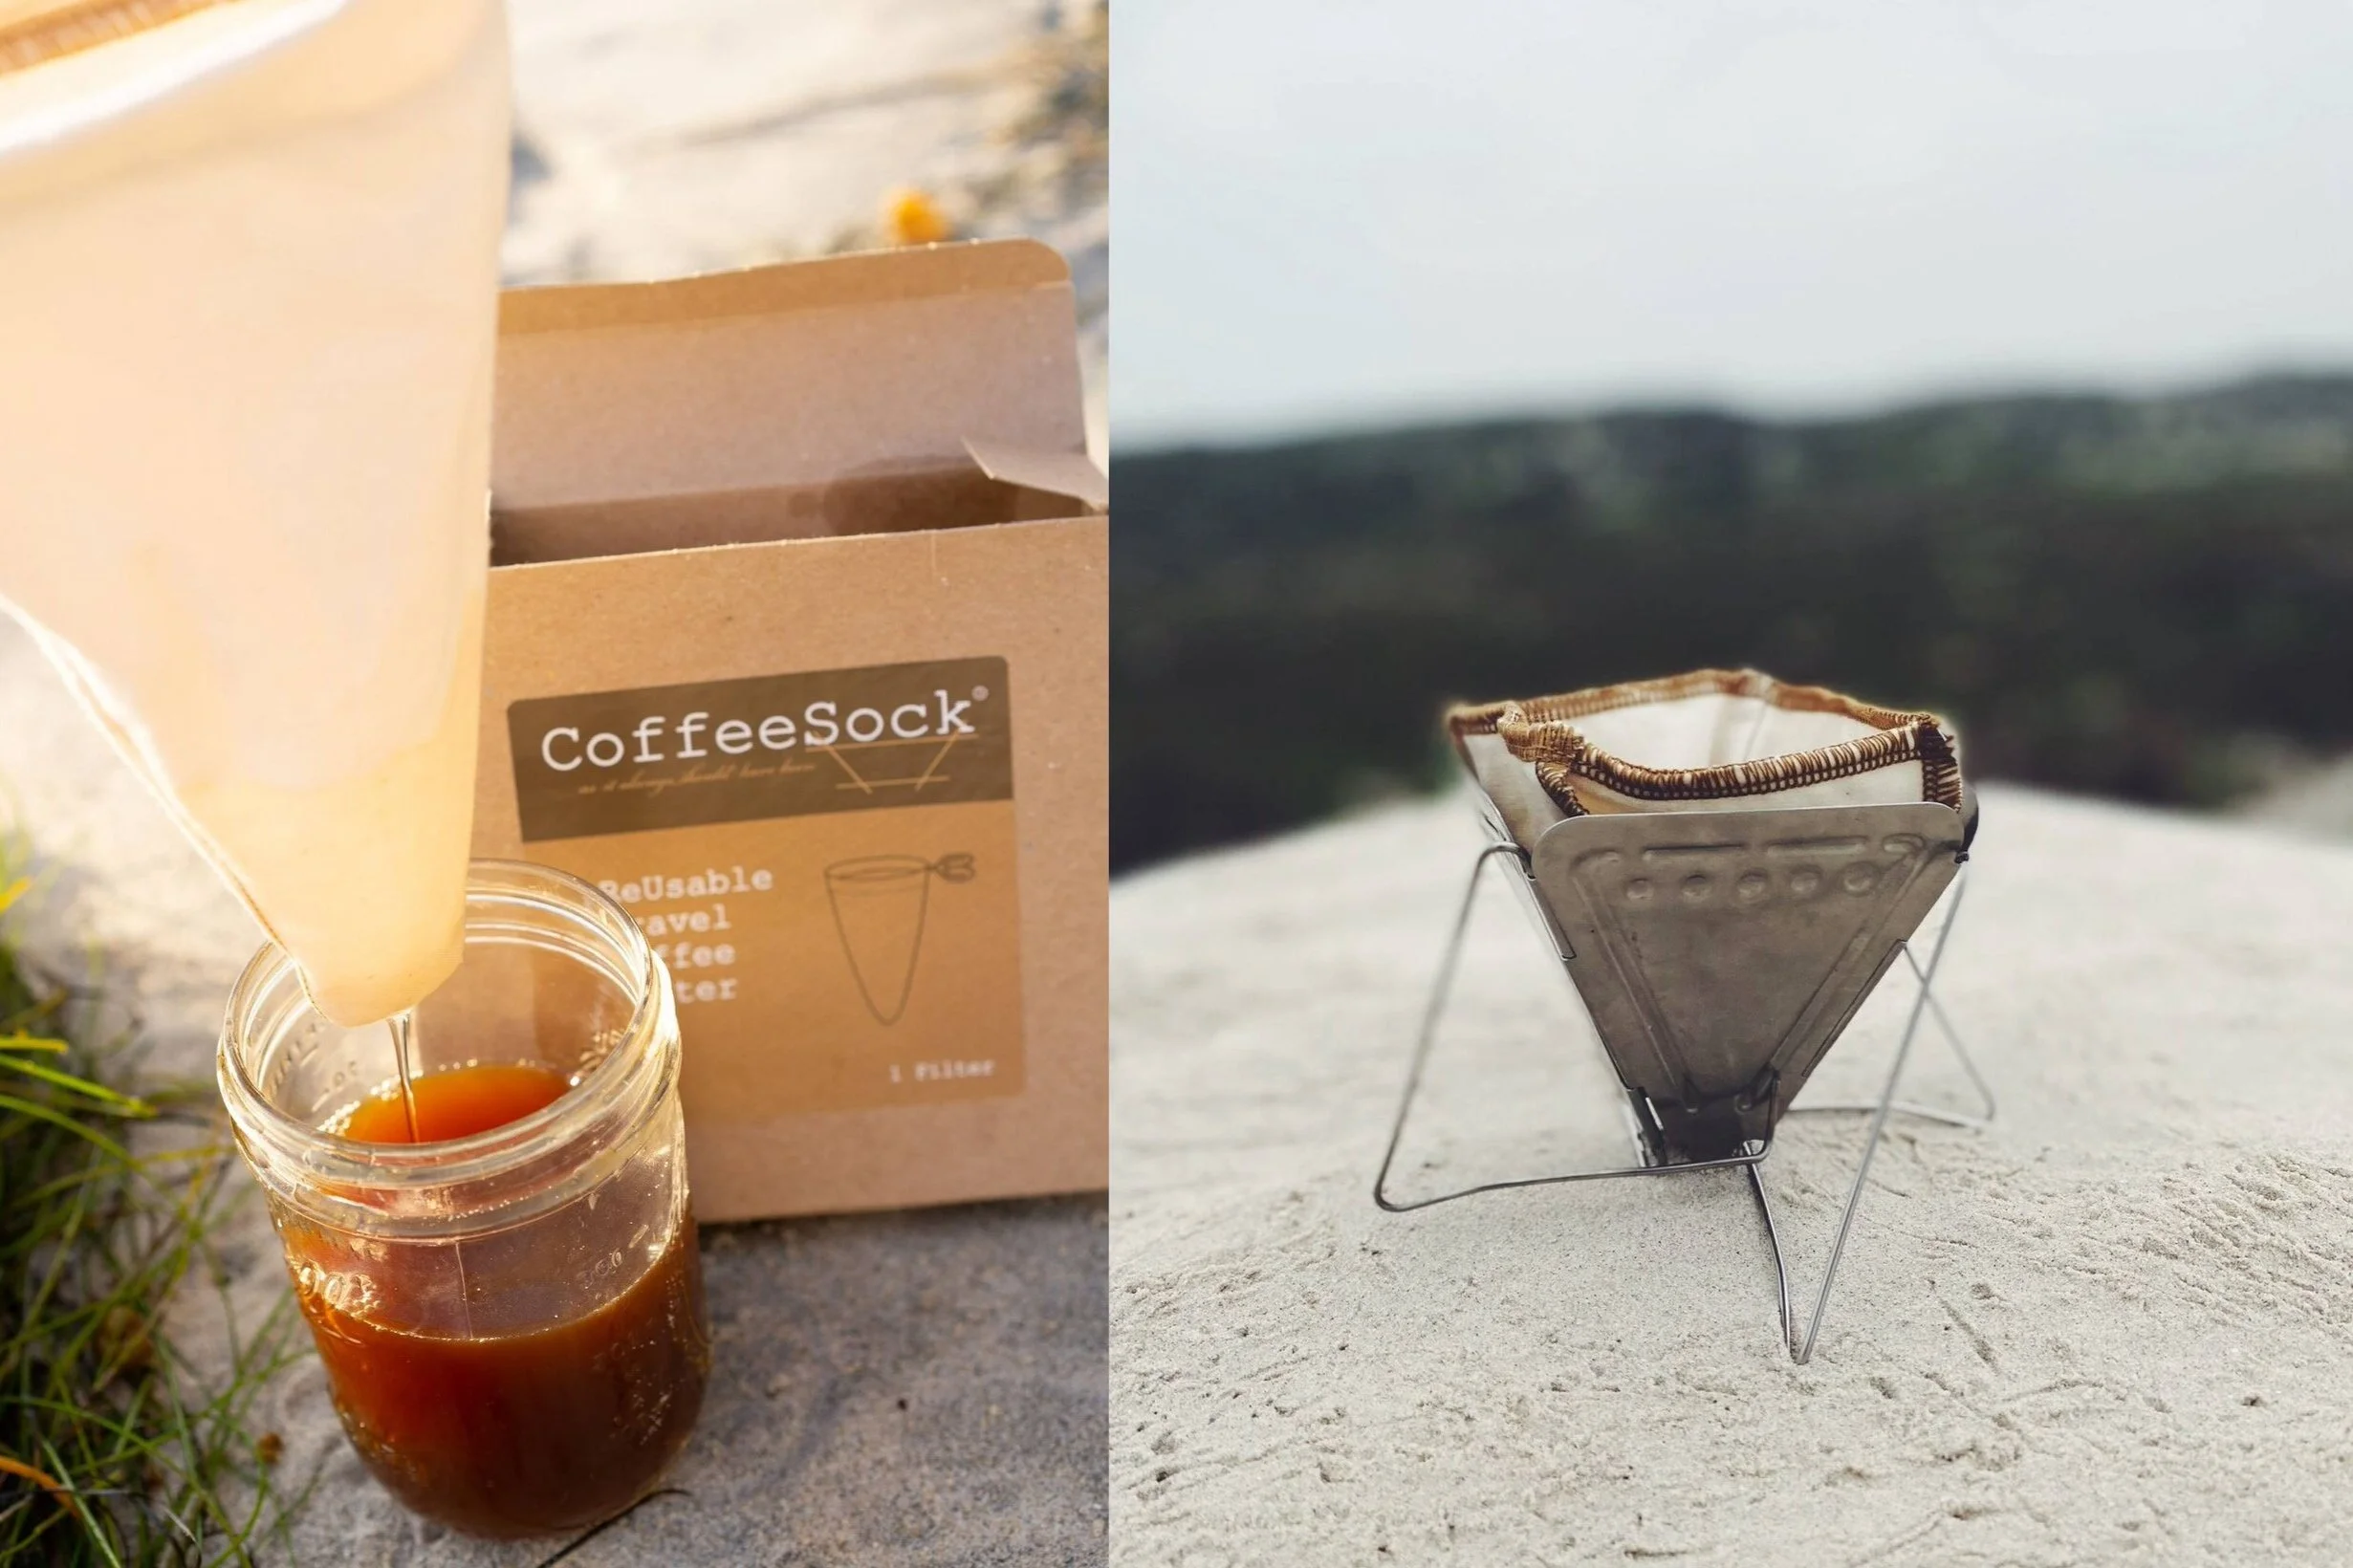
If you’ll have access to fresh water and you’re already packing a way to heat it, a travel filter requires almost no additional space.
Gear: Travel filter and your favorite ground coffee in a sealed container
Space needs for coffee setup: Almost none. The travel filter has a handle—so no dripping device necessary.
How to use: Add coffee grounds to the filter, hold it over your cup or thermos, pour the hot water over it and let it drip into your cup.
* If you have a folding dripper, you can use that too with the filter size that fits. Email us if you aren’t sure which size to choose.
If you can’t heat water
You don’t need hot water to make coffee. Cold water and a cold brew filter works great. You just need time. So use this method overnight so you have coffee ready for you in the morning.
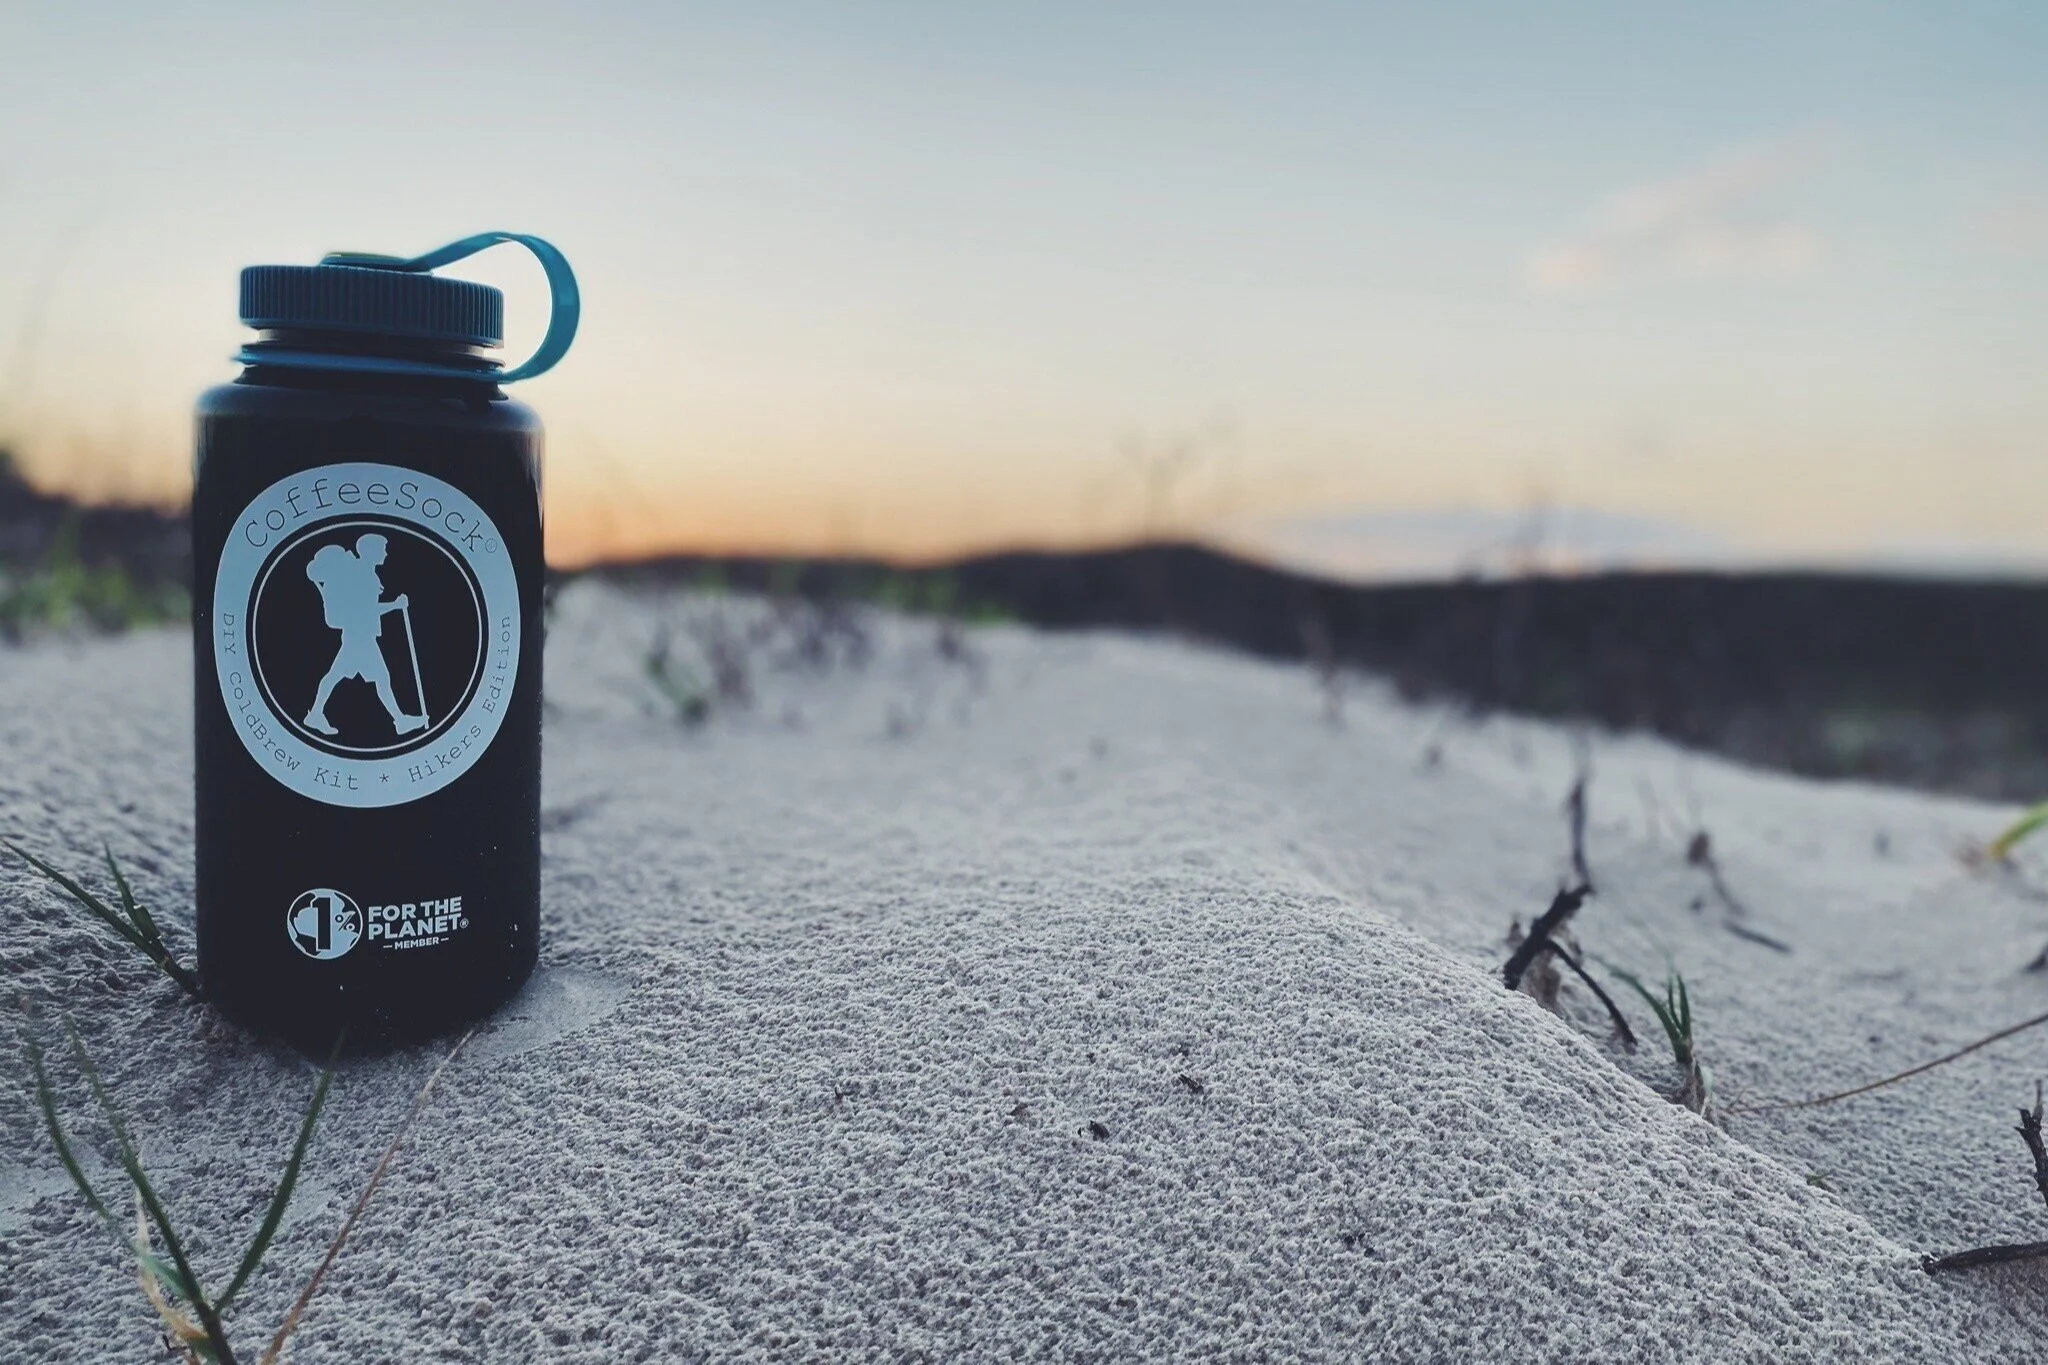
Gear: Coldbrew hiker and your favorite coarse ground coffee in a sealed container.
Space needs for coffee setup: Small. The hiker is the size of a regular Nalgene water bottle and can double as a water bottle when you’re not sipping coffee from it.
How to use: Fill the filter with about one cup of coffee if you plan to brew 32 oz of cold brew. Scale down if you want less. Pour just enough fresh water to wet the grounds. Let the grounds “bloom” for a couple of minutes, then fill your bottle the remainder of the way. Tie off your filter, and let steep for 6-10 hours.
If you’ve got a cooler
If you’re on a road trip or in a camper and have a cooler, you can always have cold brew at the ready. No need to locate a coffee shop or a gas station with fresh-ish coffee. Just pull over and grab it out of the cooler any time of day or night. (This method has transformed our road trips.)
Gear: Coldbrew kit of your choice (filter and container with a lid) and your favorite coarse ground coffee in a sealed container.
Space needs for coffee setup: Enough space in your cooler for the 32 oz hiker or (if you're me) a 64 oz mason jar.
How to use: Fill the filter with about one cup of coffee for each 32 oz of water. Scale up or down as needed. Pour just enough fresh water to wet the grounds. Let the grounds “bloom” for a couple of minutes, then fill your bottle the remainder of the way. Tie off your filter, and let steep for 6-12 hours (less for smaller batches). Overnight is the way to go here.
What to do with the grounds while you’re travelling
Coffee grounds are completely compostable. Treat them just as you would any other food scraps on your trip.
If you need to use an animal proof container for feed, consider a separate wire mesh bag for scraps, including your coffee grounds. And if you can set your grounds out to dry before tossing them in the bag, they’ll be lighter.